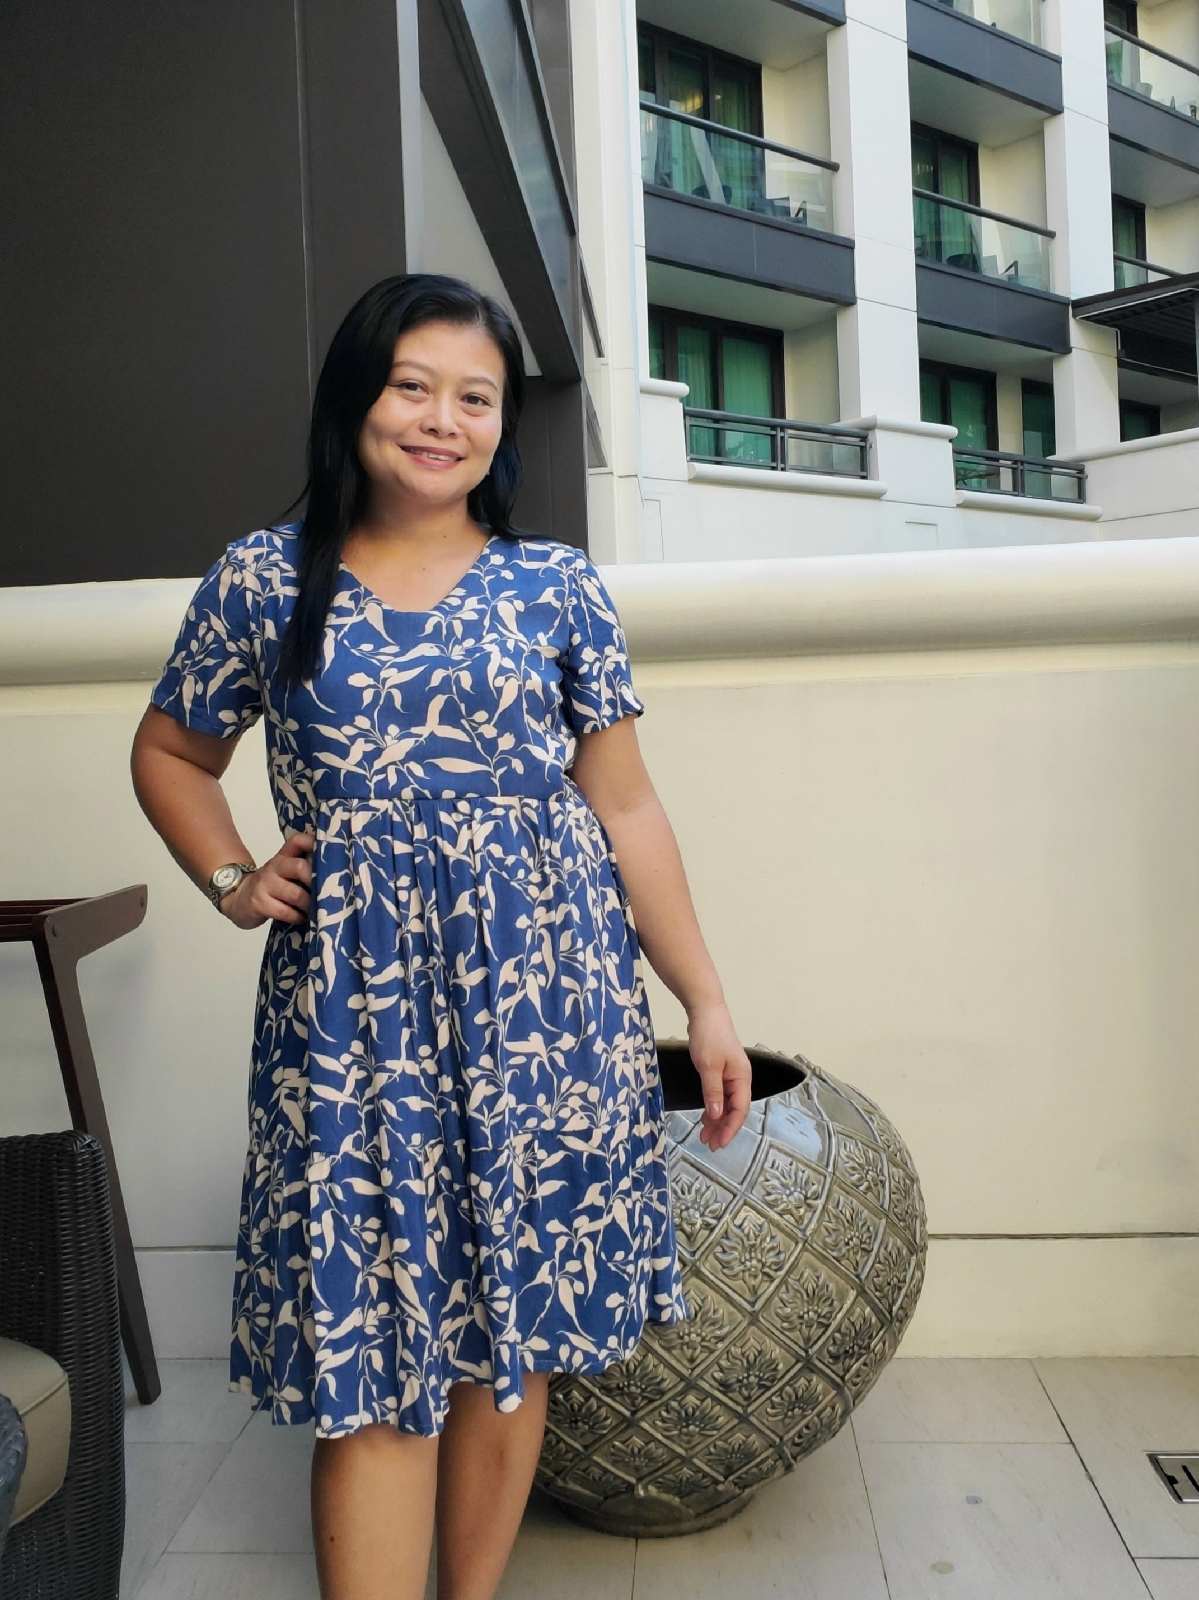
DIY V-neck Tiered Dress
Image
Hello, I made three dresses to wear on my trip to Bangkok during the Easter holiday and this dress is the first one I made. I will share another two in the next posts.  I started working on this dress two weeks before the trip and I'm glad I managed to finish it on time, as well as my other dresses.  This dress was fun and relaxing to sew because I made one before in a midi length, so this time I shortened the length until my knee and sewed it easily. For the fabric, I used a printed rayon from my stash and white cotton lining leftover from my previous make. For the pattern, I used my self-drafted pattern. At first, I didn't want to add the lining but I had to because the fabric was a bit transparent, the lining fabric wasn't enough and I connected the pieces to make the back skirt. Here is the look of the fabric after cutting and the skirt was pieces of a rectangle: the first tiers - front and back, the last tier on the fold ( I forgot to take the p
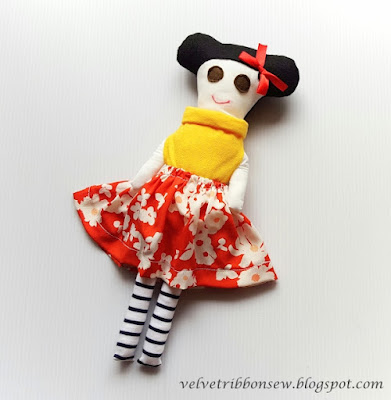
Rag Doll - Daisy Jane

Hello...
I made this doll last time and my son named her Daisy Jane. I was planning to make it for myself but my son want it.
He had a boy doll  and he wanted Daisy Jane to be his doll friend, so I gave it to him :)
Now, Daisy Jane is staying inside my son room together with his other dolls. How sweet....

I got the pattern from Burda Kid's magazine that my dear husband bought me from his short trip to Lisbon

source from BurdaStyle
Materials:
White cotton fabric for the body, yellow knit fabric for the tube top, floral fabric for the skirt, stripes knit for the stockings, black felt for the hair, brown felt for the eyes, pink thread for the lip, red ribbon, elastic, polyester stuffing and threads for sewing.

Pattern:
BurdaStyle Rag Doll 09/2013#149 with adjustment on the tube top and skirt. I have to make the outfit bigger because they were too tight for the doll.
Here is my pattern pieces,

The sewing process was fun and much easier, you can follow the picture below

I hand sewn the side of the doll after I stuffed it with polyester stuffing. I used a chop stick to pull the stuffing on the place, because the hands and feet were together with the body

After all the process done, I sew the ribbon to her hair. And here is the whole look of the doll, front and back views

I sew the outfit. The top just like a tube top with two holes in both sides for the hands to insert. The skirt was a rectangle shape skirt finished with elastic inserted inside the waistband. And the stockings were in the shape of long/skinny rectangle, which one side was sewn and the other was open.

Well, it was an easy and fun project to make. Here are more pictures of Daisy Jane and I think she is a very cute doll :)


This doll is a part of my weekly update "DIY Friday" and I am also linking it to Caroline for Show Off Saturday

Happy Sewing!

Comments

  1. Totally cute! :) Thanks for sharing :)

    ReplyDelete
    Replies
    1. Thank you, Katharina. I am working on the second doll now :)

      Delete
  2. I've been trying to post my comment so many times (My computer is acting out with El Capitan upgrade ....) I said the following: so sweet! This doll is perfect for a bed or a sewing room!

    ReplyDelete

Post a Comment